Epoxy flooring is a popular choice for homeowners and businesses alike, thanks to its durability, versatility, and easy maintenance. If you’re considering epoxy flooring for your home or commercial space, you may be wondering how it is installed. In this blog, we’ll provide a step-by-step guide to the epoxy floor installation process.
Before starting the installation process, it’s important to prepare the substrate, or the surface that the epoxy will be applied to. This typically involves repairing any cracks or holes in the concrete, as well as ensuring that the surface is clean, dry, and free of any debris or contaminants.
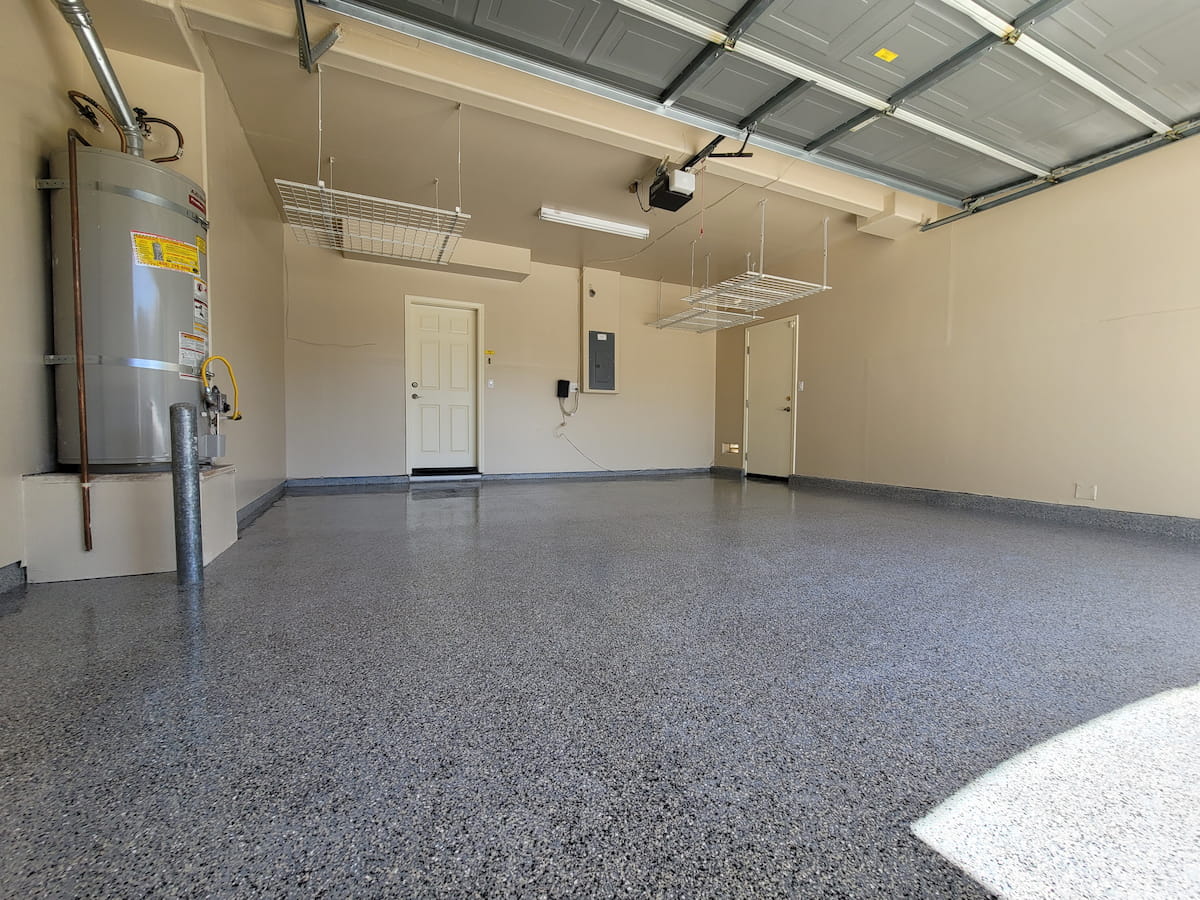
Once the substrate is ready, the installation process can begin. Here are the steps involved in installing an epoxy floor:
- Apply a primer: The first step in installing an epoxy floor is to apply a primer, which helps the epoxy adhere to the substrate. The primer is typically applied using a roller or brush, and it should be allowed to dry completely before moving on to the next step.
- Mix the epoxy: Epoxy typically comes in two parts – a resin and a hardener – which must be mixed together in the proper proportions before use. The epoxy should be mixed thoroughly to ensure a consistent and even application.
- Apply the epoxy: Once the epoxy is mixed, it can be applied to the substrate using a roller or brush. It’s important to work quickly and evenly to avoid drips or streaks.
- Spread the epoxy: After the epoxy has been applied, it should be spread using a squeegee or trowel to create a smooth and even finish.
- Allow the epoxy to dry: Once the epoxy has been applied and spread, it will need to dry completely. The drying time will depend on the specific type of epoxy being used and the humidity and temperature conditions.
- Apply a topcoat: In some cases, a topcoat may be applied over the epoxy to add an extra layer of protection and shine. The topcoat is typically applied using a roller or brush and allowed to dry completely.
It’s important to note that the epoxy floor installation process can vary depending on the specific type of epoxy being used and the size and condition of the substrate. It’s always a good idea to consult with a professional epoxy flooring contractor to ensure that the installation is done correctly.
In conclusion, the epoxy floor installation process involves preparing the substrate, mixing and applying the epoxy, spreading the epoxy to create a smooth finish, and allowing the epoxy to dry completely. It’s a relatively straightforward process that can be done by a professional contractor in a matter of days. If you’re considering epoxy flooring for your home or business, be sure to consult with a reputable and experienced contractor to ensure a successful installation.